 .pdf
.pdf
Point cloud generation and preprocessing result
After searching and implementing various methode to modify the mesh before applying KSR, we tested it on the meshes presented in the Software and Data section. We can compare the result with the result we got few months ago during the project on the same subject.
We can take a look at what the preprocessing turned out, below are the point clouds generated from the workflow applied to the Three Zone meshes:
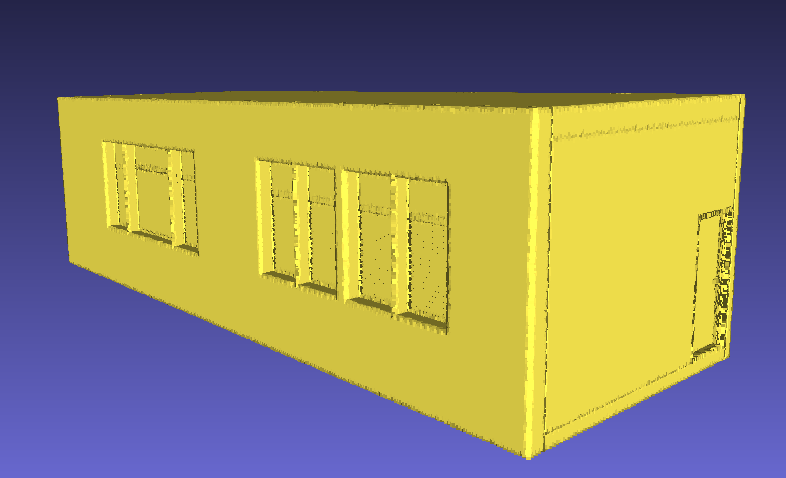
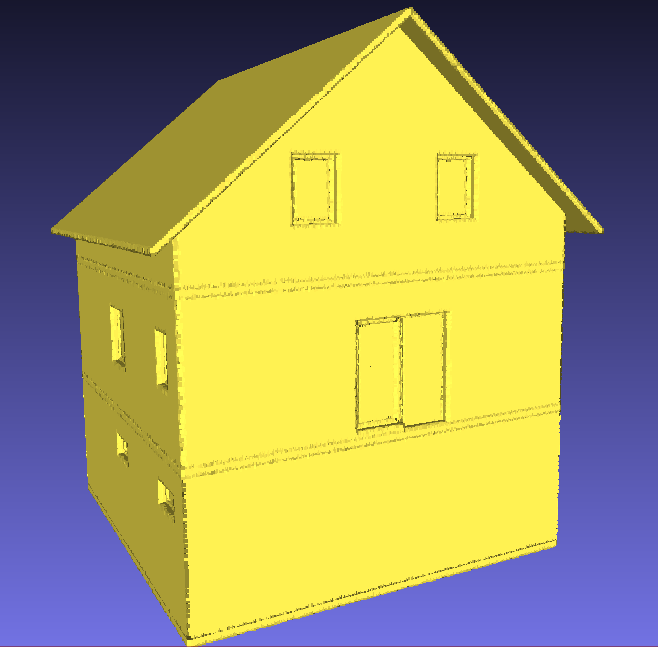
Polygon Mesh from the STL files |
Point Cloud generated |
Normal associated |
|
|
|

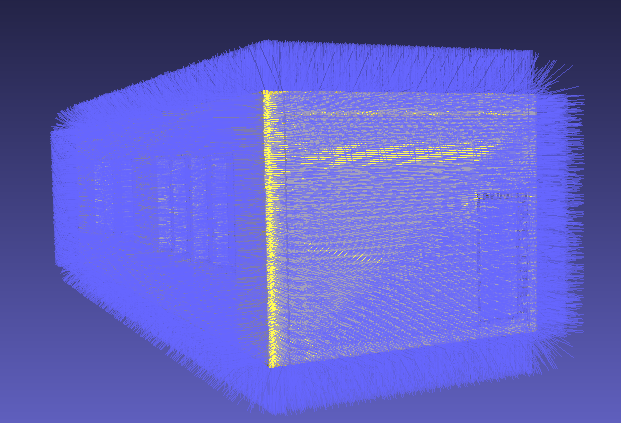
From the Stl files we successfully create a dense point cloud with normal associated outwardly oriented.Now we can try to use it in KSR. Based on the same Mesh, few months ago we tried to generated the point cloud generate with a software cloodcompare,we can compare both outcome and see the improvements:
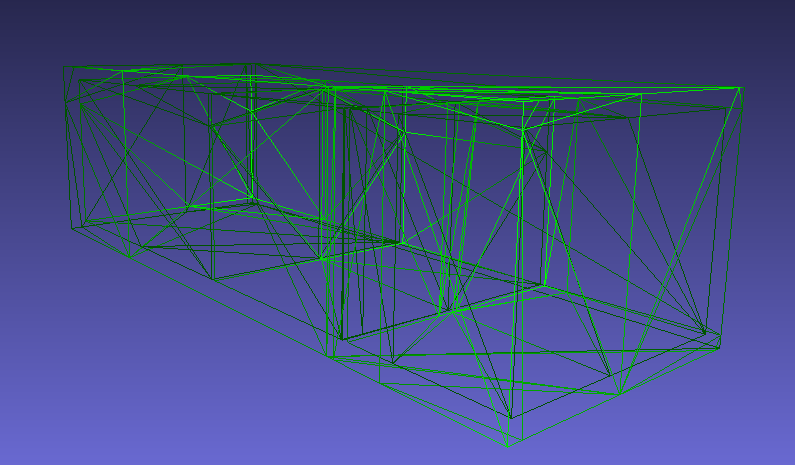
Old KSR outcome |
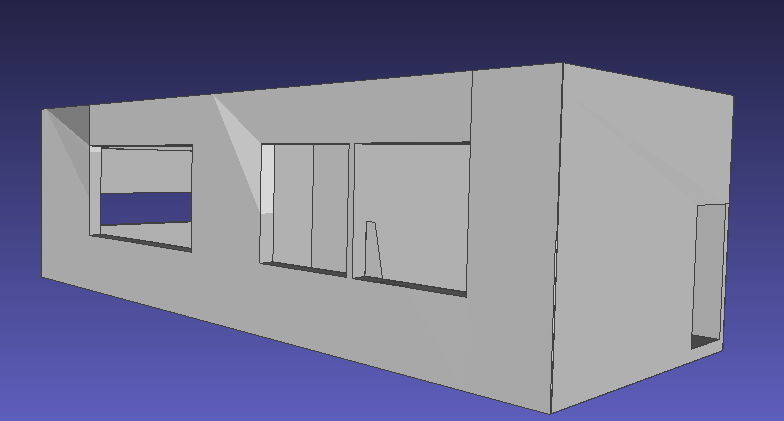
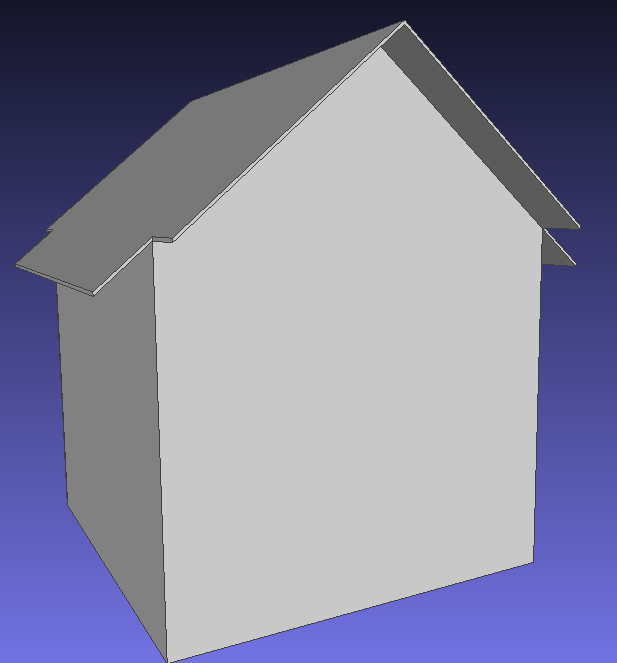
New KSR outcome |
|
|

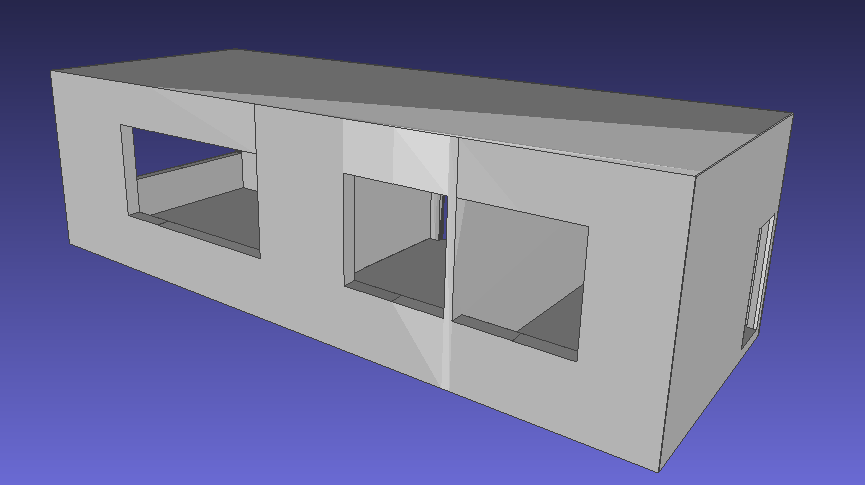
The old result had degenerated faces, Although it gave an idea of the shape and what he tries to generate but it was not functional.But in comparaison, now we got a good representation of the mesh with the exception of windows who are replaced by empty space.
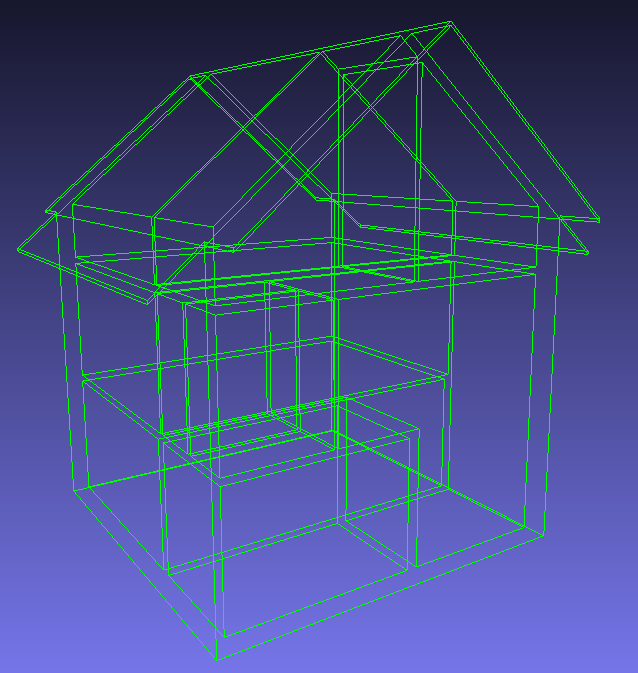
To generate precise structure, we had to use low value as parameters for the minimum region size, generating more detailes face. For instance for the outcome from before we use the following parameters : - min.region.size=150 - maximum.distance=0.06
Different parameters lead to different result :
Parameters used : |
min.region.size = 500 ; maximum.distance 0.06 |
min.region.size = 45 ;maximum.distance =0.06 |
KSR output |
|
|
Mesh |
|
|
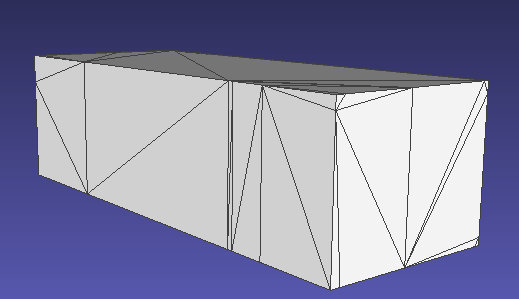
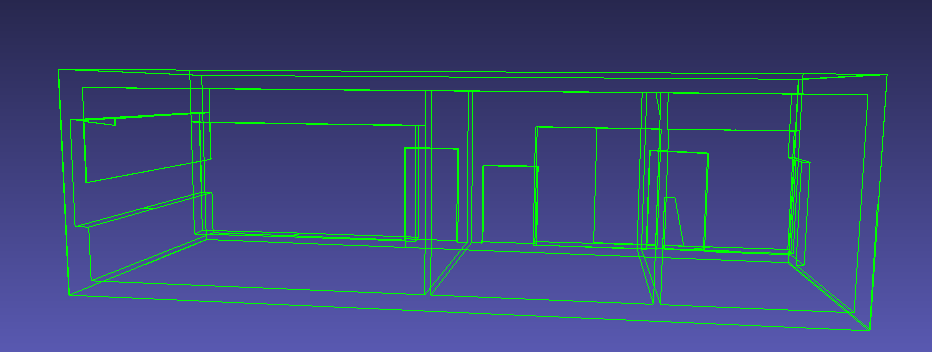
Increasing the min.region.size parameters result in less details, but a simpler mesh, in this case we got a parallelepiped with two wall inside it, and if we decrease even more we start to getting the shape of the windows or door but it does not succeed in filling completly the hole.For simulation the parallelepiped might be better to ensure the watertightness of the model.
Here’s an exemple with another mesh :
ACjasmin mesh STL |
ACjasmin point cloud |
ACjasmin KSR outcome |
ACjasmin KSR mesh |
|
|
|
|
We end up loosing some details like windows, but the mesh is supposely closed, watertight. The distinction of the different room without doors is still preserved.
We can also tried with more difficult mesh like this dragon found on footnote:https://free3d.com/fr/3d-model/black-dragon-rigged-and-game-ready-92023.html[free 3d],
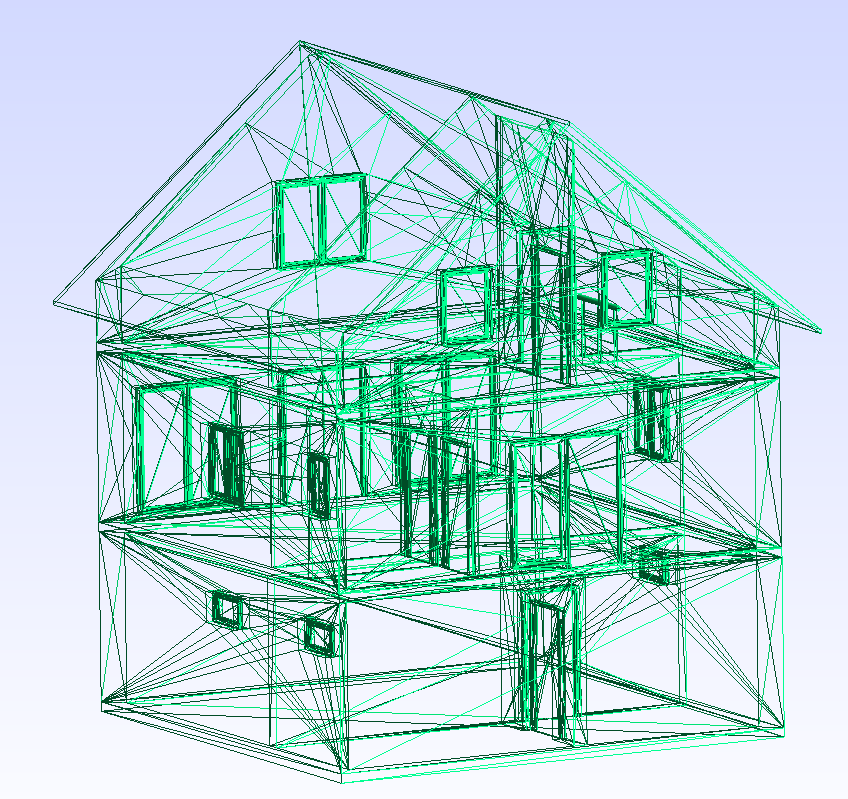
Dragon stl |
Dragon from KSR |
superposition of both |
|
|
|

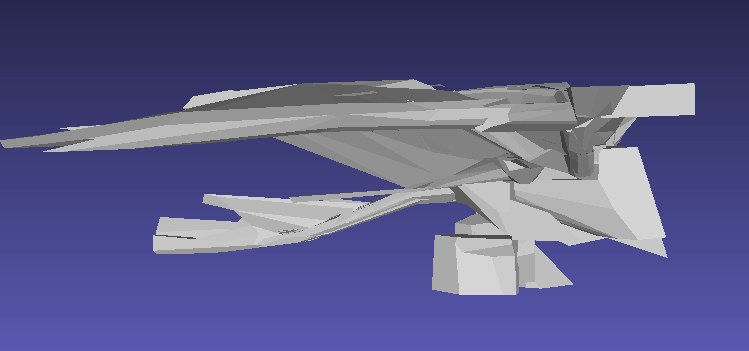
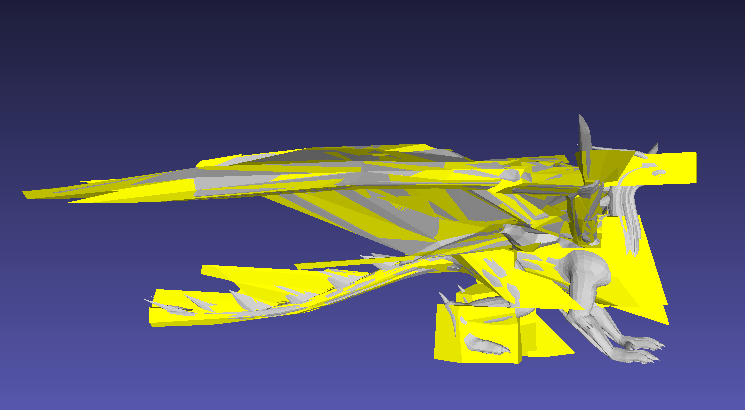
The general shape of the Dragon is kept and understandable but the head is reduce to a cube without horns,eyes or all small details. With both of the last examples, we can see that our workflow works well on low-detail meshes but has difficulties handling highly detailed meshes with a lot of curvature or very small objects like scales, door handles, or window corners.